What are Vowels?
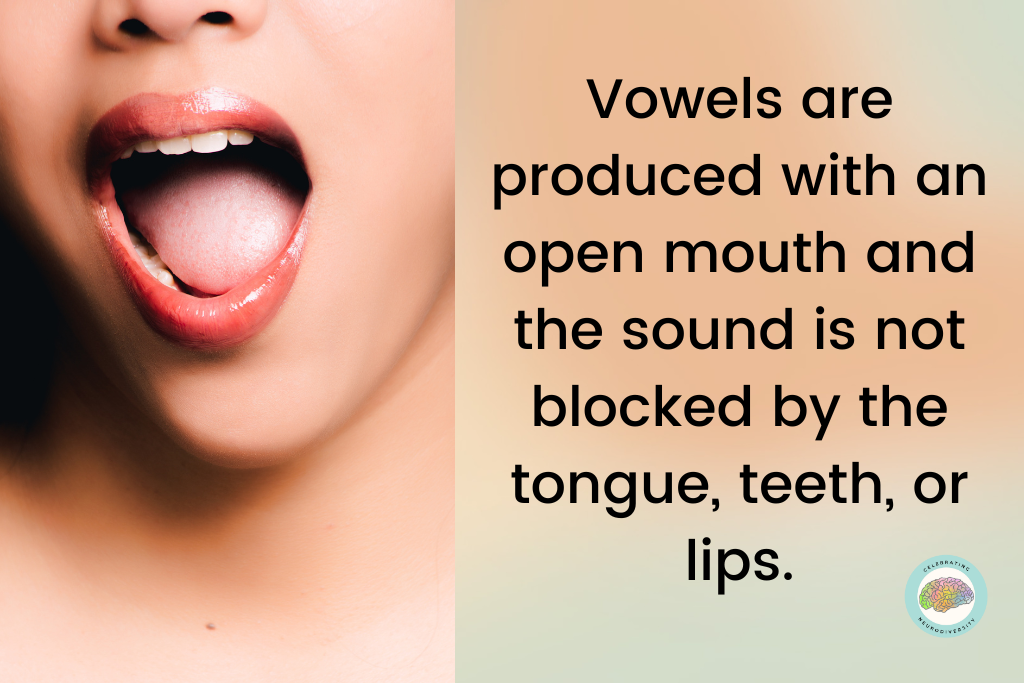
A vowel is defined by Merriam-Webster dictionary as “one of a class of speech sounds in the articulation of which the oral part of the breath channel is not blocked and is not constricted enough to cause audible friction.” More simply stated, vowels are produced with an open mouth and the sound is not blocked by the lips, teeth, or tongue and the sound is sustained. This opening in the mouth is important as it forms the syllables in words. Vowels are essential to words. Every word has at least one vowel.
The vowels are a, e, i, o, u, and sometimes y. We often think of each vowel as having two sounds, long and short but vowels actually make a total of 15 sounds including long, short, and diphthongs. We describe vowel sound as long or short but in actuality long vowels are not spoken longer and short vowels are not spoken any shorter. Linguists use the term tense for what we know as long vowels because there is more tension in the tongue muscles when spoken, while they are lax for short vowels.
Why is it so Hard for Some Children to Learn Short Vowel Sounds?
The production of the vowels makes them difficult. Vowels are produced with an open mouth and the sound is not blocked by the lips, teeth, or tongue. Because the vowels are not blocked, they don’t have the same motor output as consonants do. To make matters worse the tongue is more relaxed for short vowel sounds and short a, e, and i sound very similar to each other, especially to beginning literacy learners.
How Can we Teach Short Vowels?
We know short vowels can be tricky to learn. To help compensate for the lack of motor output, we can help children make the connection between sound and letter by using key words, tapping out vowels, and making hand signals.
Start by choosing a key word to use for each short vowel. The short vowel sound should be at the beginning of the word and the word should have a clear and pure vowel sound. This makes it very important to take into consideration nasal and back consonant sounds when first introducing short vowels. For example, the letter n is nasal and distorts the sound of a vowel that proceeds it. We want to use key words that have the vowel sound as clear as possible, then teach variations later. I have listed some suggestions below.
Another approach to use with a key word is to tap out the vowel with your fingers. Each key word for this activity is two syllables so use two fingers, your index finger and middle finger to model. The child will tap their index finger for the first syllable and middle finger for the second syllable. If the child is learning the sound of short a, use the word apple. Tap out /ă/ on the index finger and /ple/ on the middle finger two times, then tap the index finger 3 times saying the short a sound. This multisensory approach is another way to help students learn short vowel sounds. For example, “/a-pl/, /a-pl/, /a/, /a/, /a/.”
Beware of Vowel Nasalization and Back Consonant Sounds!
You may have noticed a slight difference in pronunciation of short vowels when followed by some consonants. This happens because the way we say a sound, is affected by the sounds we say around it.
Vowel nasalization
Every time a vowel is spoken before a nasal consonant, that vowel will nasalizes. These nasal consonants include n, m, and ng. Give this a try: say the words and, limb, bunk, and went while plugging your nose. Do you feel the vowel being nasalized by plugging your nose? Some teachers describe this as the vowel making its whiny sound.
Vowel raising before a back consonant sound /k/ /ng/ /g/
As stated earlier, vowel sounds sound slightly different because of the consonant that follows. This is also true for what we call back consonants. These consonants make the /k/, /ng/, and /g/ sound. The tongue starts to raise in anticipation for that back consonant causing the slight variation in the vowel sound. Say the words bag, bank, egg, ink. Do you hear the slight difference?
Suggested Key Words for Vowel Finger Taps and Signals for Short Vowels
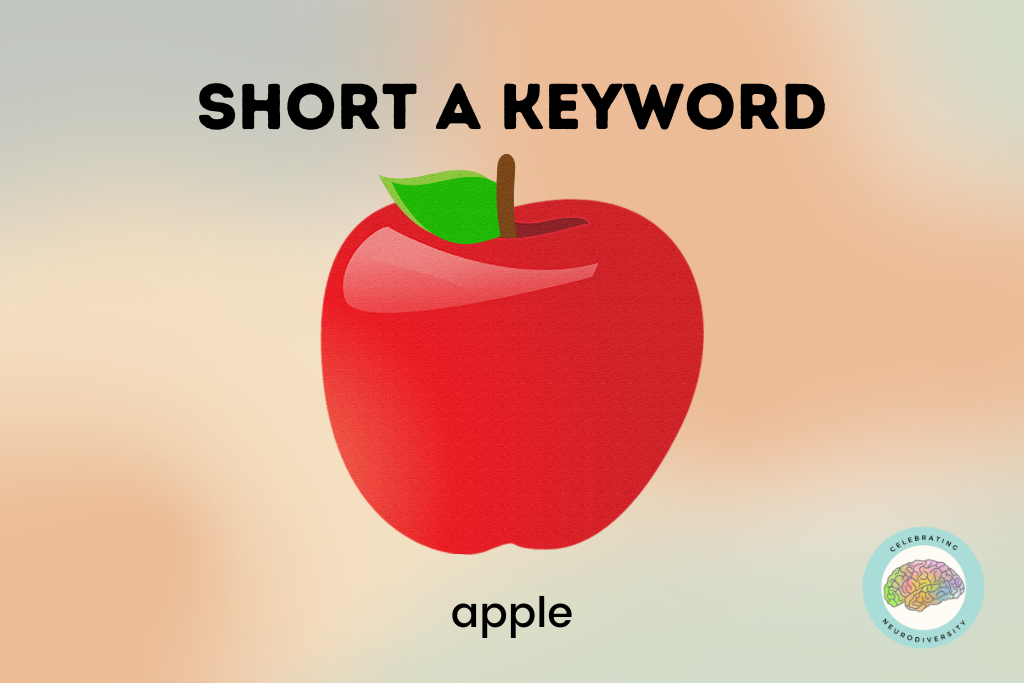
Teaching the Short A Sound
Key Words: apple
Vowel finger tap: apple, apple, ă, ă, ă
Signal: To perform the signal have the child put their hand in front of their mouth like they are taking a bite of an apple. The jaw drops when making the short a sound like their jaw drops when taking a big bite of something, like an apple. Another option would be to hold their palm up like they are holding an apple while making the short a sound.
Teaching the Short I Sound
Key Words: itch, itchy
Finger tap: itchy, itchy, ĭ, ĭ, ĭ
Signal: To perform the signal have the child perform a movement like they are itching their nose. Use the pointer finger to go down the nose to make an i. They could also dot their forehead. Another option would be to have the child act like they are scratching an itch on their arm while saying. itchy, itchy, ĭ, ĭ, ĭ
Teaching the Short O Sound
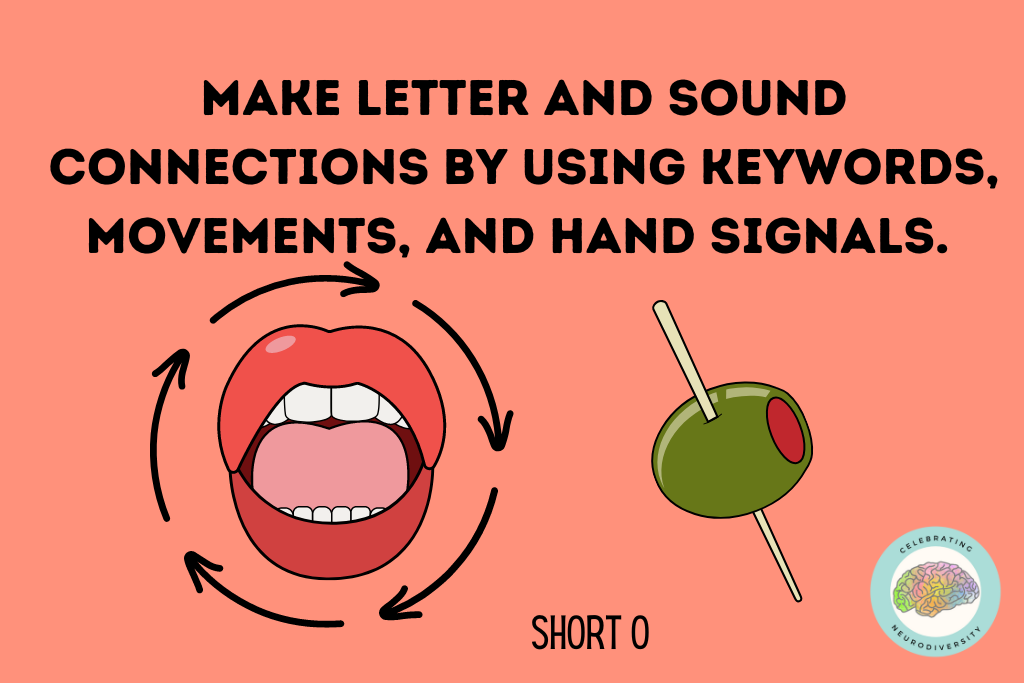
Key Words: Olive, Octopus, Ollie
Finger tap: Olive, Olive, ŏ, ŏ, ŏ
Signal: To perform the signal you have the child open their mouths and using their index finger to circle their open mouth as they say ŏ…octopus (or chosen keyword). Another option is to have the child think about when they go to the doctor and the doctor asks to check their throat, he/she often has the child open their mouth and say ŏ. The child opens their mouth using their index finger to circle their open mouth as they say ŏ…octopus (or chosen keyword).
Teaching the Short U Sound
Key Words: Up, upper, umbrella
Finger tap: Upper, Upper, ŭ, ŭ, ŭ
Signal: To perform the signal you have the child flex their arm muscles and say ŭ. Their arms will make a u shape. Another way to introduce the short u sound is with a small cocktail umbrella. They open the umbrella and put it up. The child can then say “ umbrella up” to remind them of the short u sound.
Teaching the Short E Sound
Key Words: Edge, Eddie
Finger tap: Eddy, Eddy, ĕ, ĕ, ĕ Signal: Edge is a common key word for the short e. To perform the signal you have the child move their hand along the edge of a table while saying the short e sound. Another option is using the key word Eddy. The child will say Eddie putting their pointer finger and thumb together and place their hand in front of their mouth. They will push their fingers apart, making a straight line over their mouth. This helps students make a gesture similar to the formation on their mouth when making the short e sound, the mouth is not opened very wide.
The children should simultaneously say the short vowel and its key word while doing the hand signal. If a child forgets a vowel sound, simply make the hand signal and that is usually enough of a prompt. This multisensory approach helps children gain more knowledge quickly and retain it.
Vowel Valley to the Rescue

Drawing attention to the mouth with a mirror by looking closely and the tongue, teeth, lips while forming each sound is very beneficial. The position of the tongue and lips determines how each vowel sounds. The vowel valley portion of a sound wall is a wonderful visual for students. As you move from left to right on the vowel valley, the jaw and shifts in height and tongue placement is visible. The first vowels form unrounded lips. At the bottom of the valley is the short o. This is where the mouth is at its most open position. Short U and back up the valley the mouth starts to close a little each sound because the tongue is coming up towards the roof of the mouth and the lips are more rounded.
Keys to Short Vowel Success
We must teach awareness of the sound system (phonology) first and then connect and anchor letters to it. A systematic sequence to teaching short vowels is vital. It’s best to start with a few consonants and one vowel and build off of that. Students should master those consonants and the short vowel sound before introducing more consonants and vowels.
Children should practice dividing words into phonemes or sounds and blending the words back together. They should also build words, change parts of words to make new words (word chaining) and phoneme-grapheme map words (map sounds to letters) to aid spelling. Students must understand the relationship between phonemes heard and letter sequences in print.
Looking at and working with common word families can also move students forward in their understanding and analysis of word patterns. Studies show that children can identify words that share a rime unit more quickly than words with different rime units. Rime units help build fluency at the early levels and continue to support readers as they move into multi-syllabic words. Knowledge of word families within short vowel instruction helps students build confidence and attain reading success.
Do you want to learn more? Check out these blog posts!
What are Word Families and Why are They Important to Literacy Success?
What is Orthographic Mapping and How Can I Use it to Increase Student Success?
Recommended Books
Speech to Print by Louisa Moats
Understanding the Logic of English
*Disclaimer: These recommendations contains affiliate links. That means I am awarded a small commission for purchases made from these links, at no added cost to you.
Fun Games to Practice Reading Short Vowels
Short Vowel Card Game Bundle -6 Games to review all short vowels
Are you ready to teach reading?
Click here to get the 4 Essentials to Reading Success


