A review of skills is an essential component of Orton-Gillingham and structured literacy lessons. A review of previously taught skills and concepts is vital to strengthen knowledge of phonemes, graphemes, and their connections. This is also a great opportunity for the teacher to see how proficient students are at applying previously learned skills. This meaningful time to review is also great for students to get warmed up for the remained of the lesson and build confidence.
When implementing the Orton-Gillingham based drills, it is important to teach and establish behavioral expectations and routines. As your students become more comfortable with the structured routines, the pacing of these drills will become quicker. Go as fast as you can but as slow as you need to. You want the lessons to move quickly but also allow students “think time” as needed until they have built automaticity.
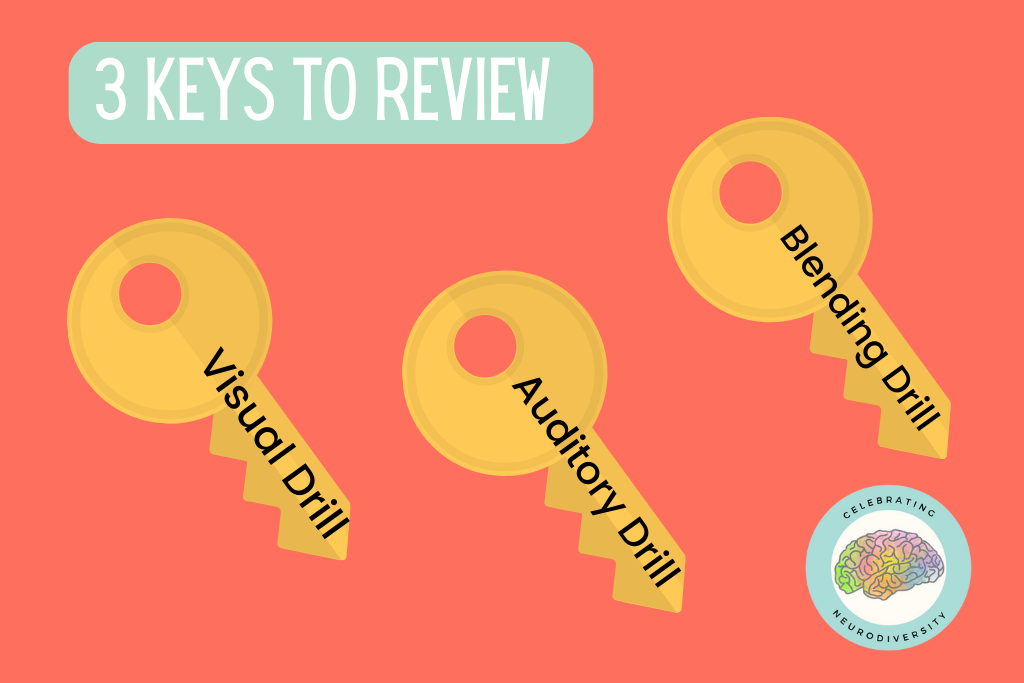
Structured literacy lessons include three key components for reviewing previously taught skills and concepts. These components are called the visual drill, auditory drill, and blending drill.
Visual Drill/Phonogram Review
The visual drill is done to review and reinforce grapheme-phoneme correspondence and build the automaticity of these associations. This drill helps students develop visual memory of letters, letter combinations, and spelling patterns. This skill is critical for reading and spelling success.
You will need a set of phonogram cards for this drill (a link to a free set of cards can be found below). Each card has a letter or letter combination that represents a single sound This drill should last about 3 minutes. The presentation of phonogram cards should be quick as we are working to build automaticity.
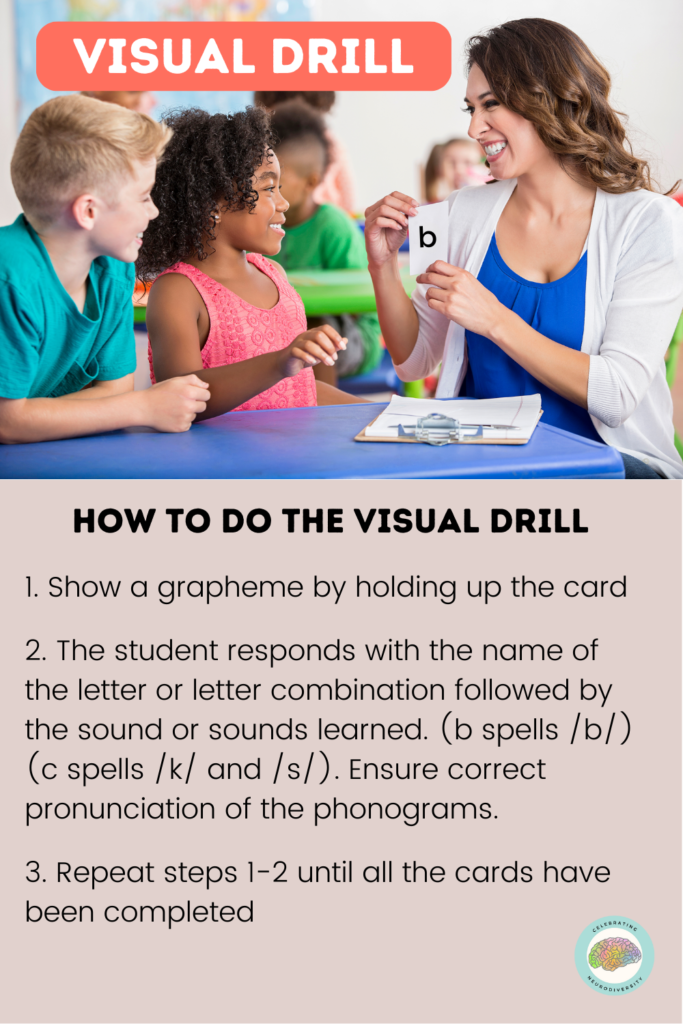
How to do the Visual Drill
- Show a grapheme by holding up the card
- The student responds with the name of the letter or letter combination followed by the sound or sounds learned. (b spells /b/) (c spells /k/ and /s/). Ensure correct pronunciation of the phonograms.
- Repeat steps 1-2 until all the cards have been completed
How to Support Students During the Visual Drill
- Give time- processing time is the best gift you can give your students
- If the student cannot give the sound of the letter, have a student trace the tricky phonogram
- If tracing doesn’t help, show a keyword/vowel signal you have established for that phoneme
- If none of the above suggestions work, tell the student the keyword
* Once the child has given the sound in any step 1-3, have the student write and give the sound three times. Put the card back into the visual drill pile so it appears again in the drill for extra review.
Auditory Drill
The auditory drill is done to review and reinforce grapheme-phoneme correspondence by connecting a sound with a letter and building the automaticity of these associations. This skill is critical for reading and spelling success because it helps students understand the sound-symbol relationships in words.
The auditory drill should take between 3-5 minutes. The presentation of the auditory drill should be quick as we are working to build automaticity. For this drill, your students will need something to write letters on. A list of options is below. The auditory drill promotes grapheme-phoneme correspondence in a kinesthetic way, through the writing of letters and building that automaticity of the correct path of motion. Students will learn and review that some sounds have more than one way to spell them for example if I say “What are the three ways we can spell the /k/ sound”, students will write c,k,-ck.
What to use for the Auditory Drill
-dry erase board and marker
-paper and pencil
-finger on the table, carpet, sand, multi-sensory options
-writing letters in the air
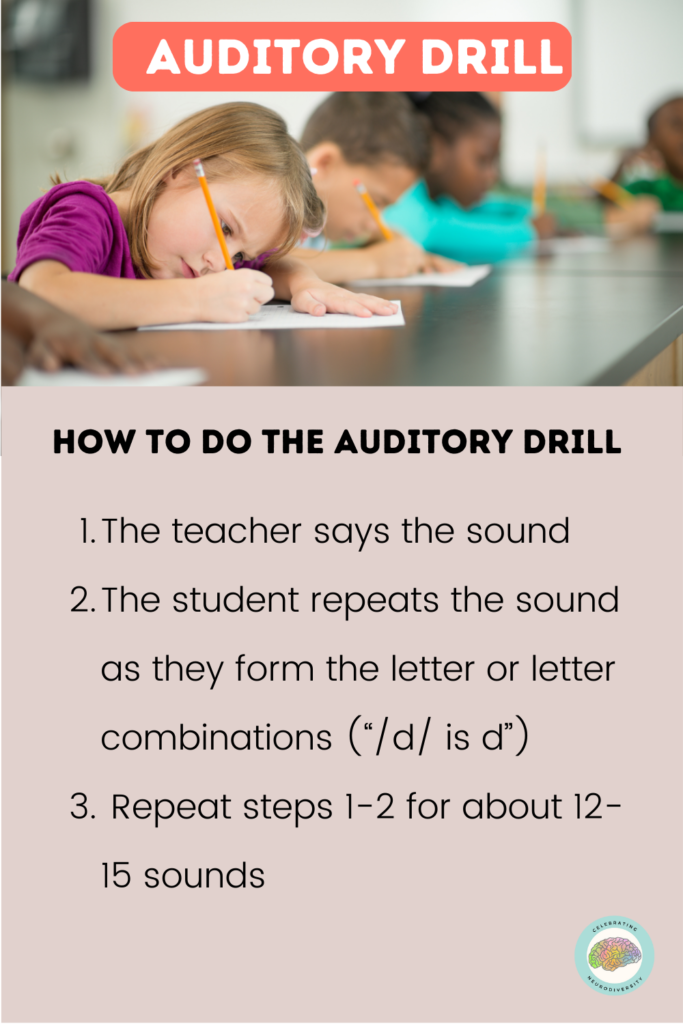
How to do the Auditory Drill
- The teacher says the sound
- The student repeats the sound as they form the letter or letter combinations (“/d/ is d”)
- Repeat steps 1-2 for about 12-15 sounds
How to Support Students during the Auditory Drill
- Give time- most of the time that is all they need
- If extra time does not help, have the student repeat the sound loudly- this adds more kinesthetics and exaggerates the feeling in the mouth, tongue, lips, and vocal cords
- If repeating the word doesn’t work, ask the student for the keyword
- Lastly, give the keyword if needed
* Once the child has written the grapheme in any step 1-4, have the student write the spelling and say the sound three times.
*Use only the steps necessary to retrieve the grapheme. If the child can get it with just additional time, no need to move to step two.
* Check letter formation and model the correct formation if needed.
Blending Drill
The blending drill reviews and reinforces decoding skills and the ability to blend sounds to form words. This connection between letters, sounds, and words, helps students to read and spell with greater accuracy and fluency.
We are once again working towards automaticity. The blending drill should move along quickly and take approximately 3-5 minutes.
The phonogram cards are put into three piles (beginning, medial, and ending sounds). Some letters only appear at the beginning or end of words while some letters could be used at the beginning or end. You can refer to the graphic to see where letters are placed.

For this drill, you change one card/sound at a time to create a new real and nonsense word. Changes can occur at any position in the words. Students decode and blend the sounds as a chance to practice and apply rules and skills they have been taught in this hands-on activity.
Blending in the Blending Drill
Changes to the initial sound tend to be easier and are helpful when first starting out. Blending sounds together that are continuous are also easier, and connected phonation, and stretching the sounds is helpful in the beginning stages (sssssaaaat). Dragging the sounds out. Be mindful that continuous sounds should be stretched, unvoiced stop sounds should not have a schwa after them, and voiced stop, the schwa should be minimized (give examples) link the website to the proper sound of each letter.
How to do the Blending Drill
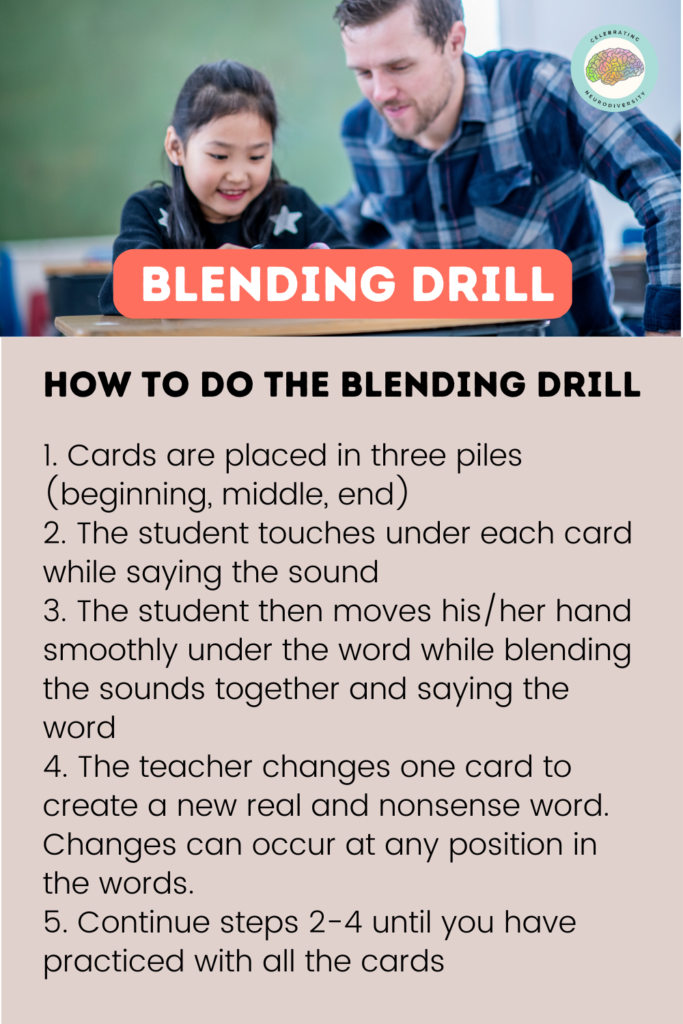
1. Cards are placed in three piles (beginning, middle, end)
2. The student touches under each card while saying the sound
3. The student then moves his/her hand smoothly under the word while blending the sounds together and saying the word
4. The teacher changes one card to create a new real and nonsense word. Changes can occur at any position in the words.
5. Continue steps 2-4 until you have practiced with all the cards
How to Support Students During the Blending Drill
- If the student makes an error anywhere in the word, the teacher taps above the first card and says, “first sound.” The student will then know there was an error and it is their job to try the word again and fix the error.
- If the error is repeated, you have two options depending on the type of error.
- If the student gave the incorrect sound, have them trace the letter for recognition and follow the visual skills error correction procedures as needed. When the child is able to pronounce the sound, have the student try blending the word again.
- If the student adds, omits, or reads the sounds out of order, have the student say the first sound then the second sound and blend those sounds together then add the third sound.
The visual, auditory, and blending drills are an essential component of Orton-Gillingham and structured literacy lessons. This review is vital to strengthen knowledge of phonemes, graphemes, and their connections. Other benefits of the drills include boosting confidence in students and helping teachers monitor students’ progress. I hope you can confidently conduct these drills in your Orton Gillingham and structured literacy lessons.
Looking for more information on Orton-Gillingham based lessons?
Unlock the Power of Word Chaining for Effective Literacy Instruction
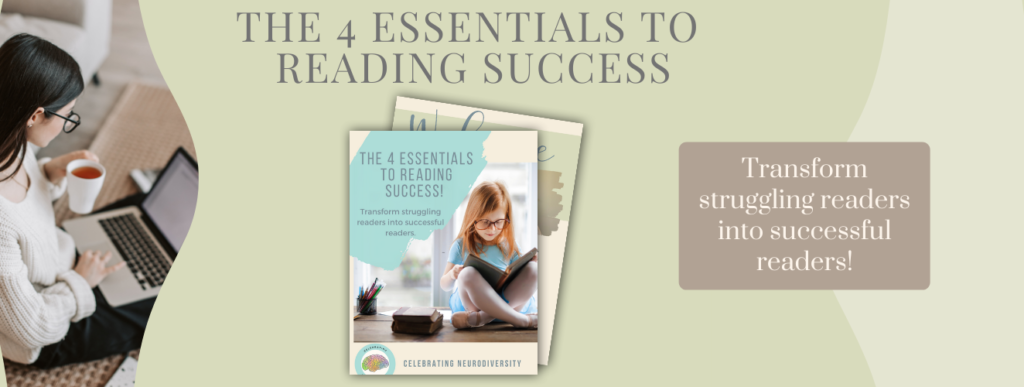
Are you ready to see reading success in your classroom?
Click here to get- The 4 Essentials to Reading Success